Friday, January 28, 2011

Binding


Have you ever filled a bobbin and then realize you didn't leave much on the spool? Phooey!

I thought I'd show you my new way of applying a binding. It was really the corners where I needed help. Here it is...
Stop 1/4" away from the quilt edge and pivot, then sew off toward the corner.

I think you can see the stitching if you click on the photo to enlarge.

Turn the binding and fold at the corner. Edges of the binding should meet.

Lay binding flat and pin.

Stitch

This corner looks pretty good.

The back looks much better than what I was getting before. Each side meets up nicely at the corner.

The beginning

The end

I think that is the best I've ever done.

The beginning and end is how I've always done it. Kathy had a different method, but I like how I do it better. I think she was surprised I was in this beginner binding class, but I think it is sometimes good to review the basics. Yes, a lot of it was review, but those few nuggets were well worth it. I think we need to explore different methods and see what works best for us.

It's nice to have our power back on. We lost it soon after I took this photo...
looking out my living room window. It started with sleet and then wet, heavy snow and even thunder. We had 2" within the first half hour. Our power went out around 6:00 Wednesday evening and it came back on around noon Thursday. We had a pretty snowfall this morning, but not much accumulation.

Wednesday, January 26, 2011

Cindy Grisdela

Lemon Fizz
It’s a nasty day here. We are expecting a lot of snow later this afternoon and evening. I’ve spent the day stitching, cleaning and I had a nice chat with a friend.  Since I’m just hand quilting and attaching a binding, I will show you a couple of quilts from a local art quilter, Cindy Grisdela. Yesterday, she spoke about her quilting journey and showed her inspiring quilts at the McLean chapter of Quilters Unlimited program meeting. Can you believe when she first started quilting she only made blue and purple quilts! 


These are photos of quilts I took at QU shows in the past. I’m sure the yellow quilt is hers because she showed it to us yesterday. I’m pretty sure the other one is hers. These quilts were made a few years ago. Check out her webpage and blog for a look at her current work. Just click on her name above.


Cindy commented that the quilt below is not hers. Sorry about the error.


These photos aren't great, but aren't they happy quilts! I especially love the block pattern of the above quilt.  I think it is called "rolling stone".

Monday, January 24, 2011

Midnight Stars Quiltalong


I just couldn't wait for step 5 of Lori's Midnight Stars Quiltalong. After putting together the Ohio Star blocks, I just kept going. I love how it turned out. The flying geese units were not your typical dimensions. Thanks, Lori, for drafting this block and making it, what - 3 times to get it just right? Any smaller and I would have been cursing - any larger and they wouldn't be so cute. Great job!

I took a basic binding class with Kathy at The Quilt Patch yesterday. Recently, I haven't been happy with how my corners look. She showed us a way I think I've seen before but haven't tried and they turned out beautifully. Glad to have a new trick. I also gave Kathy my snowball/9-patch for quilting (she works magic) and will get it back within the next month so I can get it photographed for submission into the Quilters Unlimited Quilt Show in June. Yay!

Saturday, January 22, 2011

Hexies…and my sewing room


This has been a hand project for a long, long time – maybe 15 years. The 1930’s fabrics were the first I started “collecting”. I have a lot! This project started out as a Grandmother’s Flower Garden, but the thought of stitching so many solid green hexies had me rethink it. Several years ago I decided to just hand appliqué them onto more 1930’s fabrics and sash with, yes, 1930’s fabrics. Well, the Judie Rothermel 1930’s Authentic black and white with a little purple that I bought in December got me thinking about this again. Two of my fabric drawers are full of these repros, but none of it is black.


So…I’m thinking of sashing these babies with the JR black, white and purple.


I thought of switching gears and appliquéing the flowers onto solid fabrics, but that would mean unsewing 7 blocks and when I auditioned it I didn’t like it as well. I’m also thinking instead of hand appliquéing I might try a blanket stitch with black thread on the sewing machine.

This week I machine quilted straight diagonal lines on the 16-patches for my grandnieces. Almost done with one and have the other one to go.

I also did some hand quilting on this.

Later today I hope to do step 4 on Lori’s Midnight Stars quiltalong.

What a mess!

And I’ve been cleaning up my sewing room. I took these photos about 2 weeks ago when everyone in blogland was talking about cleaning out and straightening up. It took me this long to get up the nerve to share (Mom, I’m glad you are sitting down!). It looks better now, but I still have a lot to do. My goal is to get it cleaned up enough so we can paint the room next month. I’m thinking of a warm peach color (the Benjamin Moore paint chip I liked best is called “pale oats” – not one of their best names).

It’s a cold afternoon, a pot of chili is on the stove and I’ve nowhere to go. Quilting time!

Wednesday, January 19, 2011

Scrappy Quilts


This is the quilt I used for my profile photo. The 9-patches measure 3 inches. I received them in a swap and the instructions were to make 12 of the same blocks using muted colors each month. At our meeting, someone gathered them up and each person got 12 different 9-patches. I love the fact that some people couldn’t keep to the muted shades. There is lime green, bright orange, and hot pink! Putting this together taught me how to make really scrappy quilts. When it was still a top I took it to a class at The Quilt Patch called “Quilt As Desired”. Kathy gave some great advice about choosing quilting patterns. As I recall, for my 9-patch she suggested straight lines and said sometimes that is all a quilt needs.


The following year the same group did these sawtooth stars and I don’t think anything was said about fabric selection this time. The stars measure 3 ½ inches. When I finished the top I draped it over the futon in my sewing room so I could look at it when I was down there and decide how to quilt it. I was entertaining hand quilting it. We had been having a lot of rain and the thought of one of the dogs laying on it did enter my mind, but then I thought – oh, they don’t come down here often. Well, Duke, our large dog hopped up on it the very next day with muddy paws. I washed it, but could still see mud stains so I decided to machine quilt it. Although now I can’t find the stains, at the time I thought it was marred so my quilting couldn’t hurt it. Because of that I was more daring with my free motion quilting than I had been up to that point. I didn’t know I was supposed to bury my knots like you do in hand quilting so I used the knot function on my new Bernina!

I really need to figure out a better way to photograph my quilts. I'd like to hang a clothesline in my backyard, but haven't figured out where to put it.

Monday, January 17, 2011

Backing Update


I feel like I made another quilt top! Why did I choose to do 2” finished squares?


I strip pieced in sets of 3’s and 4’s and then mixed them up for variety. I needed 2 – 4’s and 1- 3 for each diagonal row.


After they were all sewn together I trimmed the resulting triangles on the edge. I thought this would be easier than cutting triangles and I ended up with bonus triangles for a doll quilt.


Even though I measured and calculated more than once it was longer than I needed so now I have the beginnings of another doll quilt.When it was all done I checked the email from my longarmer and realized I misunderstood and she didn’t need an extra 8-10” on each side but 8-10” both ways! I thought that was a lot! Oh, well. I like how it looks and I’ll trim away the extra for the binding.

Here are some goodies I bought at The Quilt Patch last Friday…

The note cards are published by That Patchwork Place and the box has the Alzheimer's Art Quilt Initiative logo on the back. I assume part of what I paid went to this.

And Saturday, when we got home from a visit with our oldest (he turns 23 today!) I found my order from Z & S Fabrics on my front porch. The fat quarter bundle was free!


Wednesday, January 12, 2011

Color Journey


“I love your use of color” is a comment I’ve received and given. I’ve been thinking about it lately and thought I’d share my thoughts with you. Also, I just saw that Kathleen Tracy posted about color on the Sentimental Quilter. I ‘d love to hear what you think, either by commenting here or posting on your own blog.

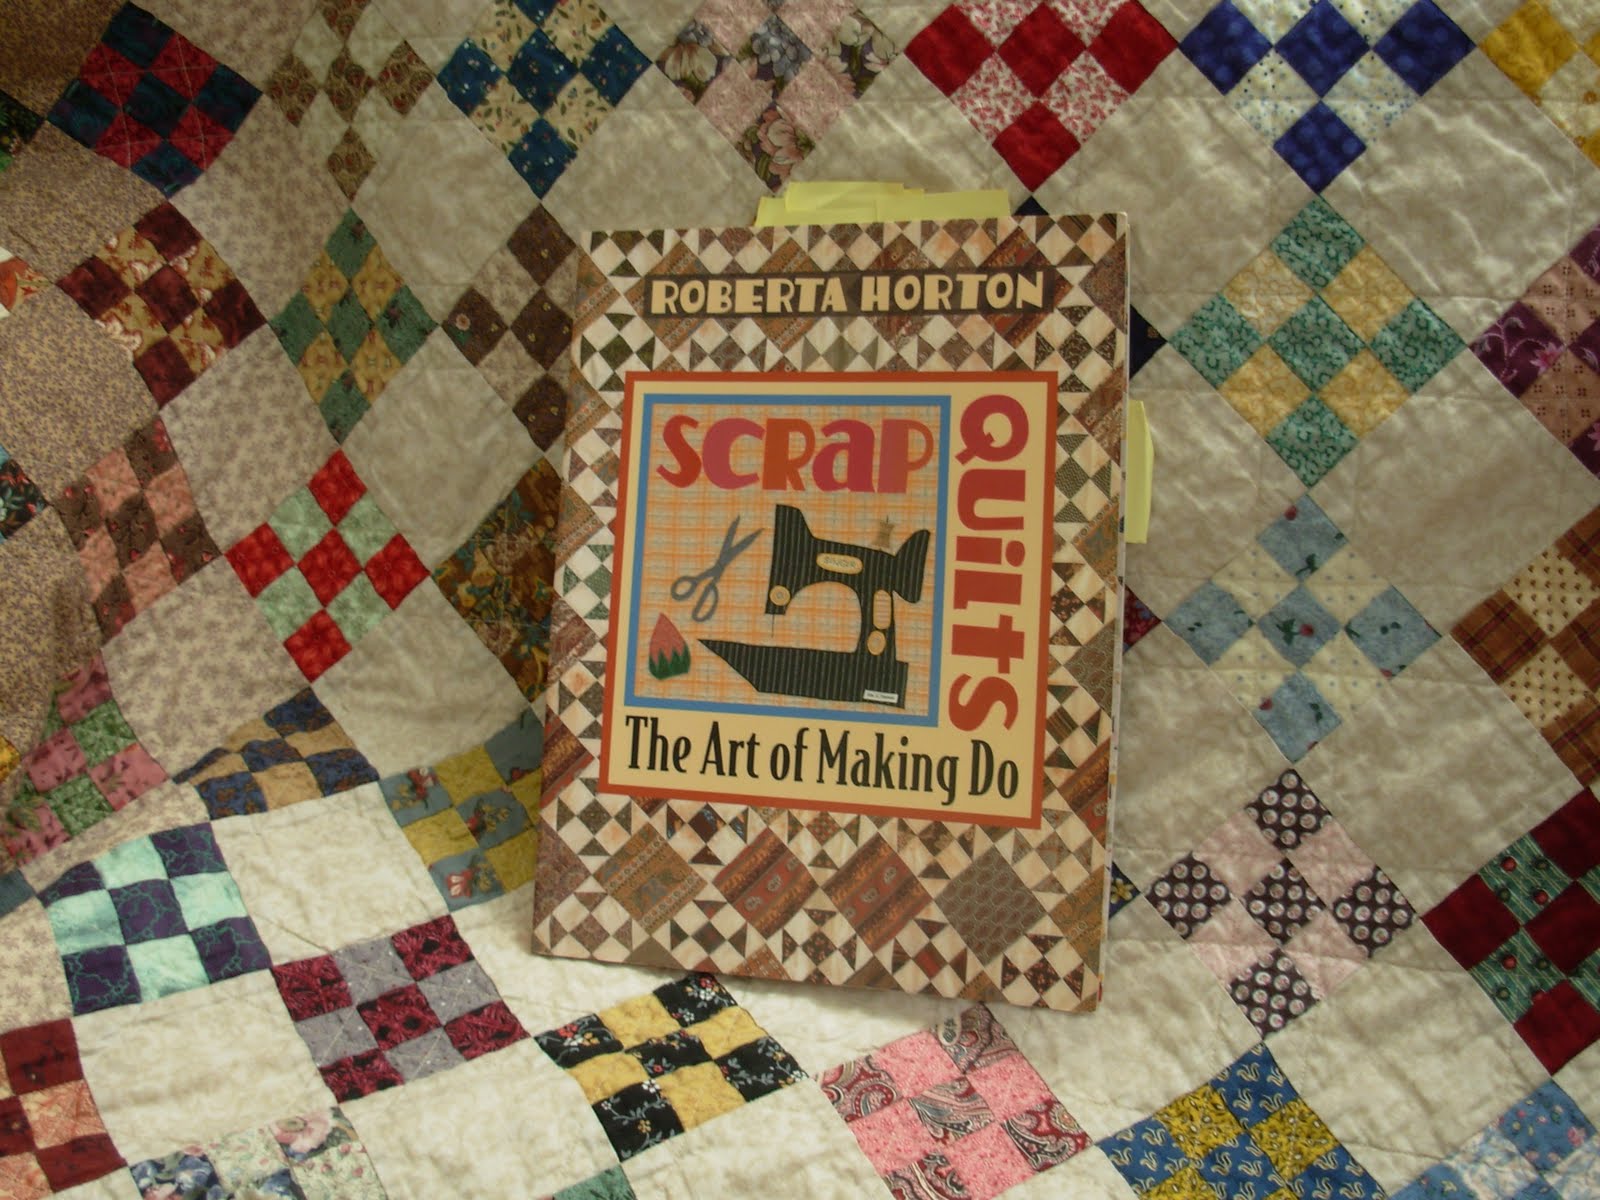
Look at all my yellow tags! They mark quilts I just love!

I love Roberta Horton’s book Scrap Quilts -The Art of Making Do. She does a fabulous job explaining fabric selection (including color) for scrap quilts. I also learned from Jinny Beyer on Simply Quilts and more recently at her color confidence lecture. Color Confidence is also the name of one of her books, but it is out of print and my library system doesn’t have it. I’ve heard it is very good.

When I first started quilting (about 20 years ago) I made 3 fabric quilts. It was difficult for me to go beyond that. I remember going to a quilt shop to pick fabrics for a Quilt In A Day trip around the world pattern. It was taking me a while, so the shop gal helped me out. Thinking about it now I can see that what she picked out was pretty tame – an assortment of dusty pinks and blues (it was the 90’s). I stood there for a while thinking about it and then put all the bolts back and then I bolted. I just wasn’t ready for it. I don’t remember how much time elapsed, but I went to a different shop (I was too embarrassed to go back to the other one) and purchased fabrics. I guess I had had time to think about it or maybe this shop gal read me better, but I went home with about 8 different pinks and blues and made the quilt.

Several years of going to guild meetings, quilt shows and reading books passed. I was working 32 hours a week back then and had 3 children so there really wasn’t a lot of time to quilt, but I fit it in when I could. At some point, I realized that I wanted to make scrappy quilts. These were the ones that I was really drawn to. Building the stash was the easy part. I just bought a lot of fat quarters and tried to vary the color and pattern. I remember reading somewhere that you should buy fabrics that don’t really appeal to you to mix things up. A couple of years ago I found myself with lots of fabric, but not many of the 19th century reproduction fabric that I love the best. Duh!

Basically, when I pick fabric for a quilt I pull from my stash and line it up and just add and delete based on what I think looks good. If it is really scrappy, I just put in lots of variety. If it is controlled, like Quiltville’s RRCB I would make sure I had lots of shades of each color (a variety of pattern). For the quilt I’m using as my background, I started with one fabric line (I think it was called English Oak by Moda) and then I added lots of other fabrics to it.

There are some fabrics that I really like to use because I think they meld things together. I call them off colors – they are softened shades of salmon, turquoise, teal, coral, periwinkle, clay, grey, etc. These fabrics are hard to find. Here are a few examples.


love this paisley

the purply pink

the grey and the plaid

the stripe

That said, I do love 2 color quilts – even those that are solid white and another solid color. Is it that the quilting on these is typically extraordinary? I’m also enjoying Lori’s Midnight Stars quiltalong and I’m using the same colors and types of fabrics she did. There isn’t a lot of variety in that quilt. Is it pleasing to me because it is a small quilt?

Seems like I’m asking more questions than answering. As with anything else, I think making quilts (practicing) is the best way to learn about color. After almost every quilt I make I realize I would do it differently if making it again. It isn’t that I regret what I did (I have a finished quilt after all), but think of it as a learning experience. I guess the point I want to make is that I think we each have an evolving color sense; it isn’t something we have or don’t have. Learning about color is the same as learning quilting techniques. It is all just part of the process.